How NOT to Cook Sago – 3 Common Mistakes People Make: Does your sago turn out more gluey or starchy that you like it to be? You may be making some of these mistakes!
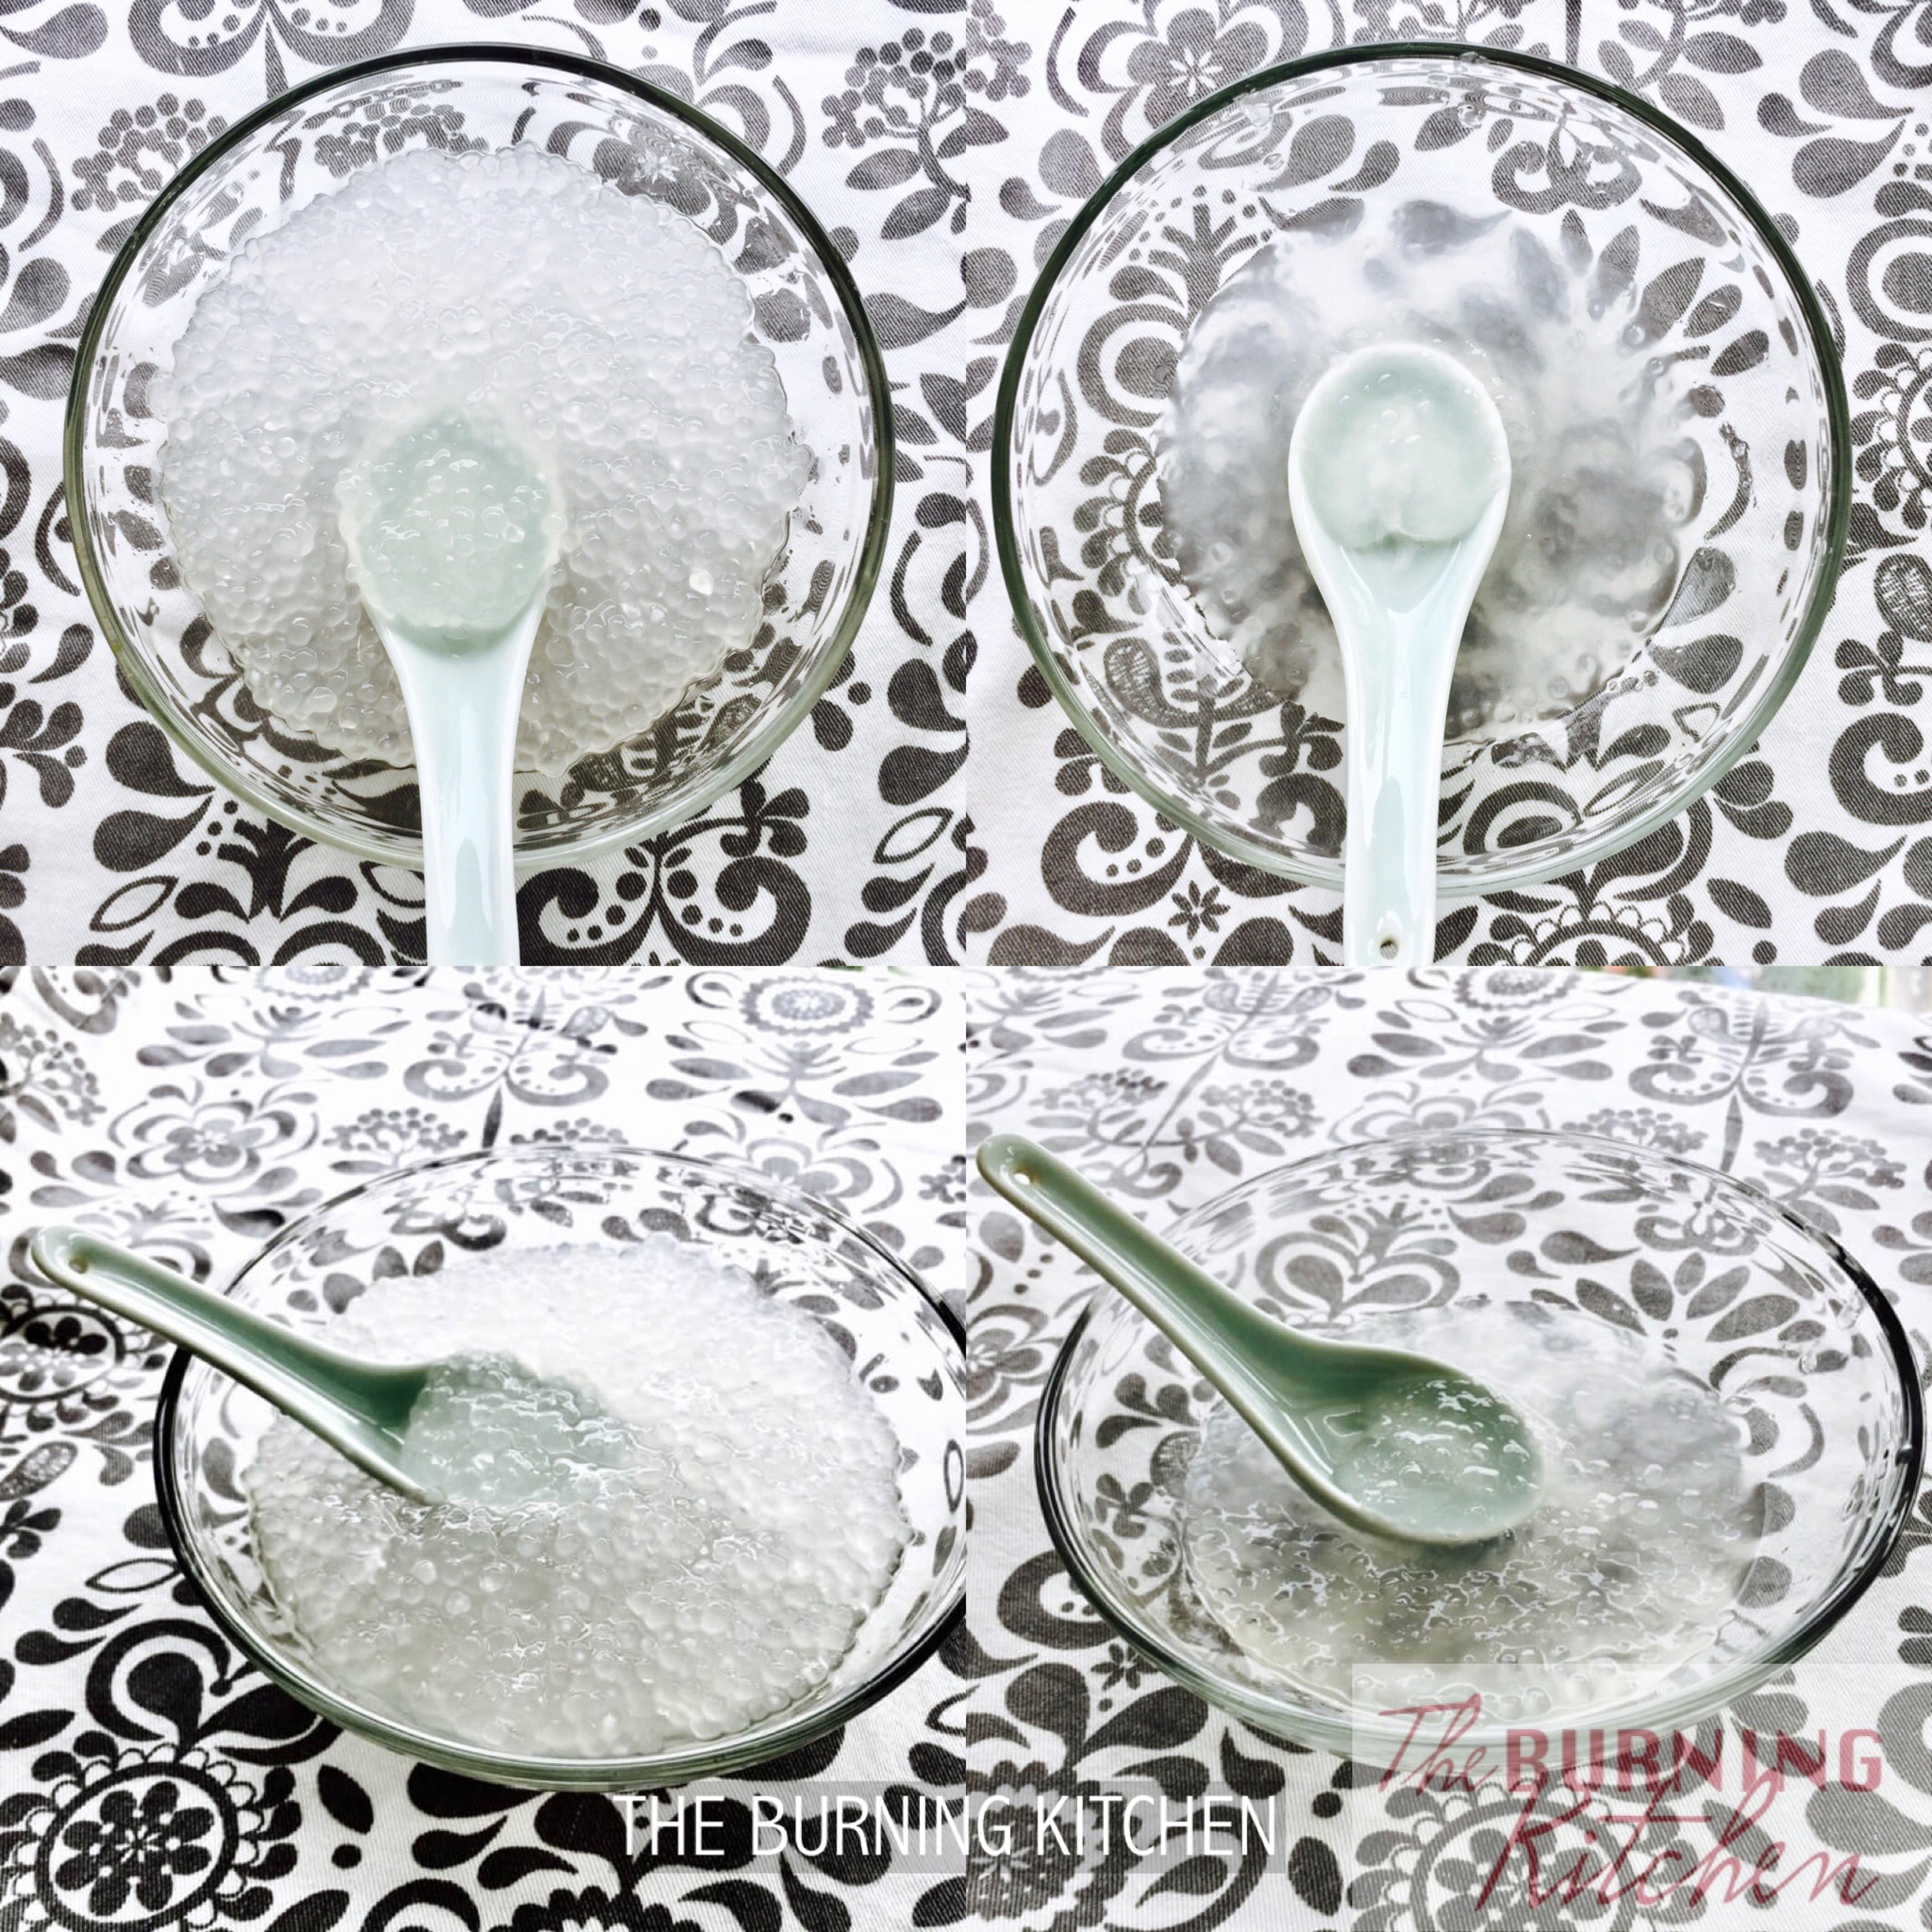
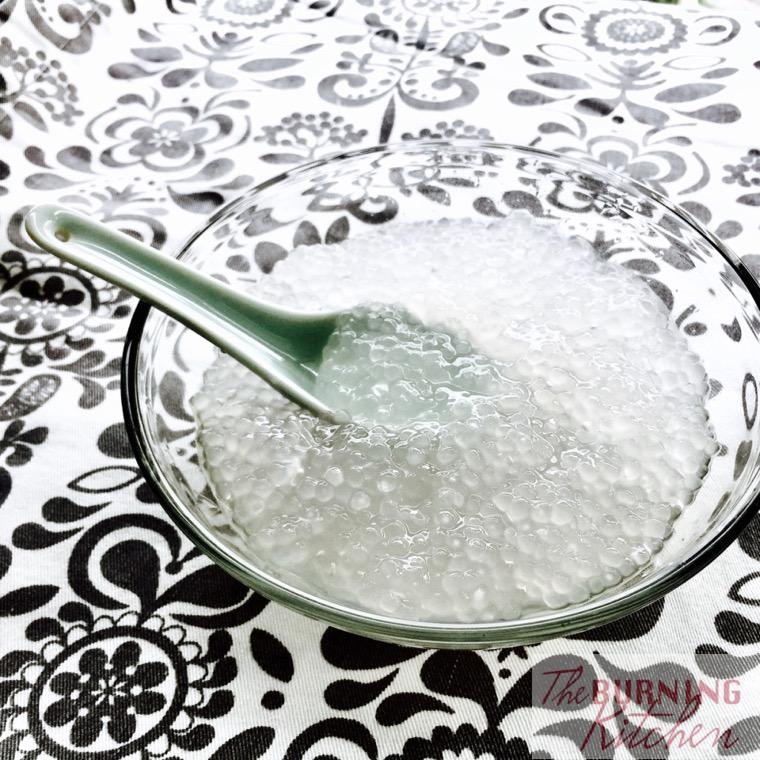
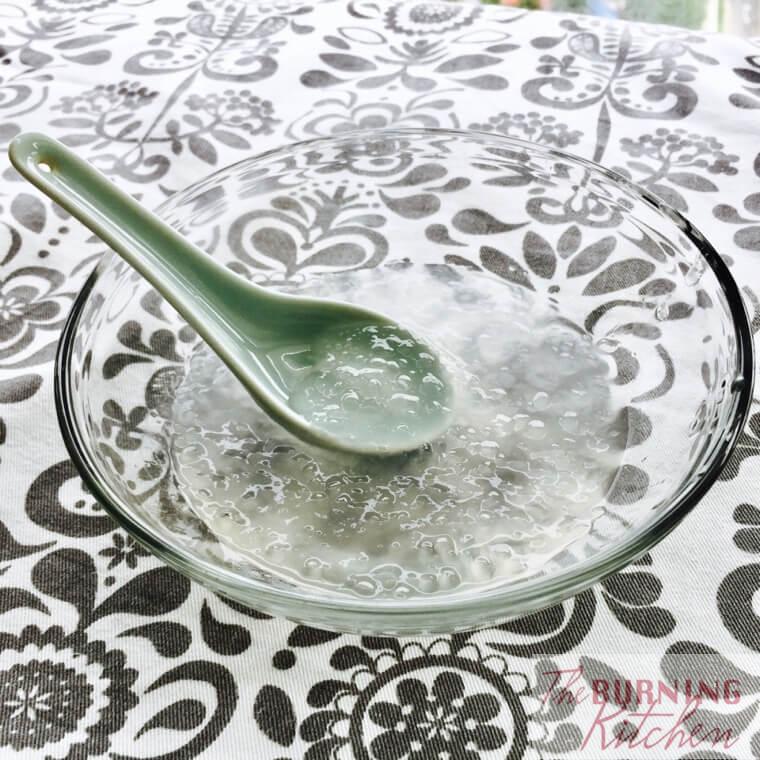
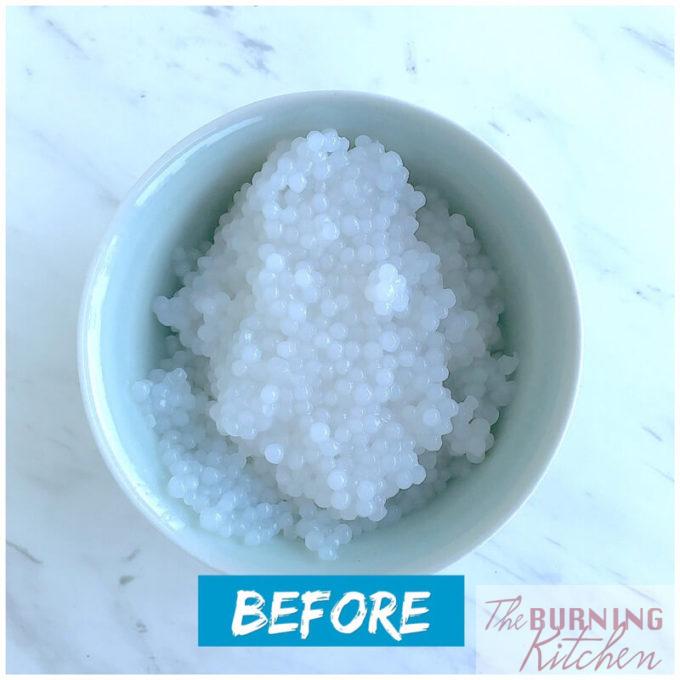
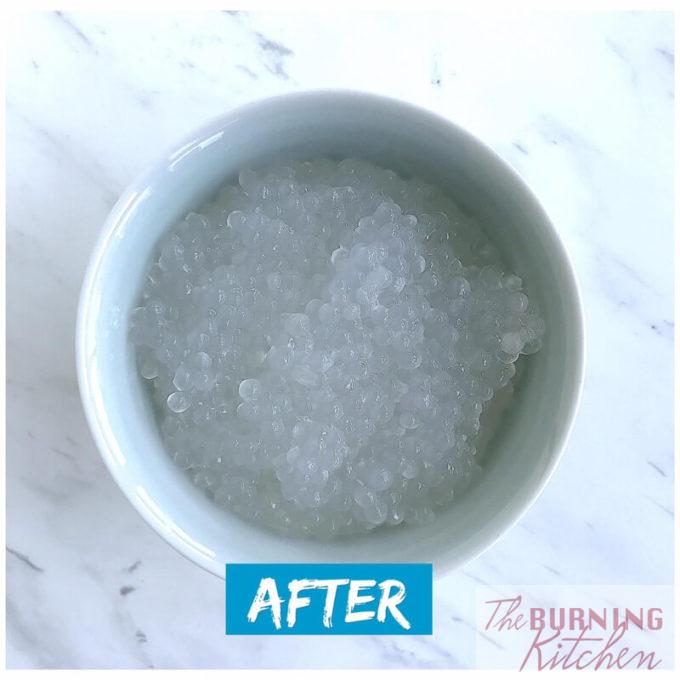
So today, we did a fun and simple experiment to show you how NOT to cook sago with three mistakes people commonly make when cooking sago. We even have a ‘scientific’ recording of the unfolding kitchen disaster! Result A is the control group – what cooked sago should actually look like. Result B is the result of our experiment ‘How not to cook sago’, and its a very sorry-looking starch solution, with a few scattered lumps of misshapen sago bits. We started with the same amount of sago for both A and B, but the volume in B reduced so much because most of it turned into starch water.
Result A | Result B |
How to cook Sago GRAB OUR HERITAGE HAWKER DELIGHTS COOKBOOK + EBOOK BUNDLED DEAL FOR JUST $44.85 (U.P. $54.80)The RIGHT Way | How NOT to cook Sago The WRONG Way |
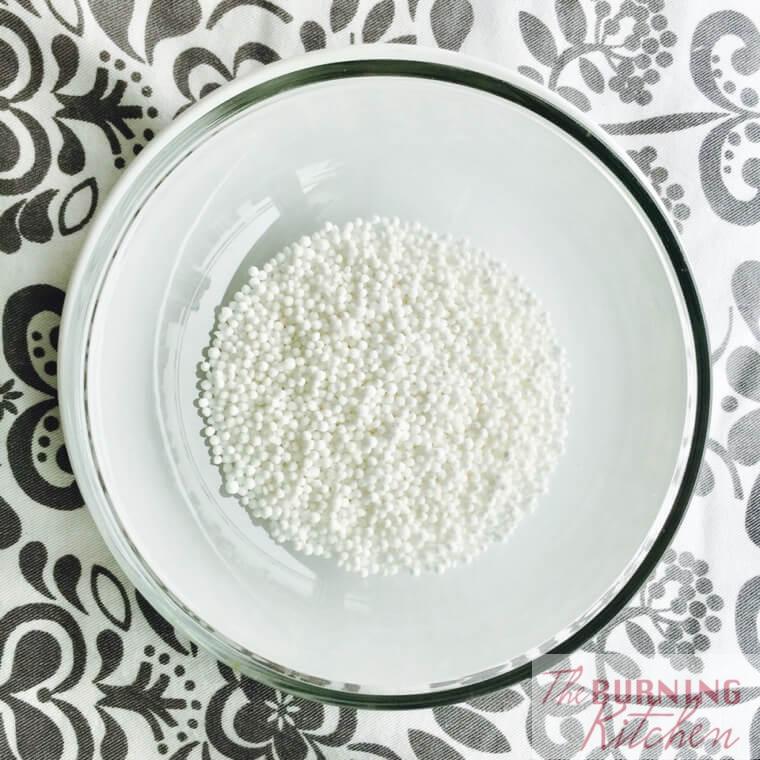
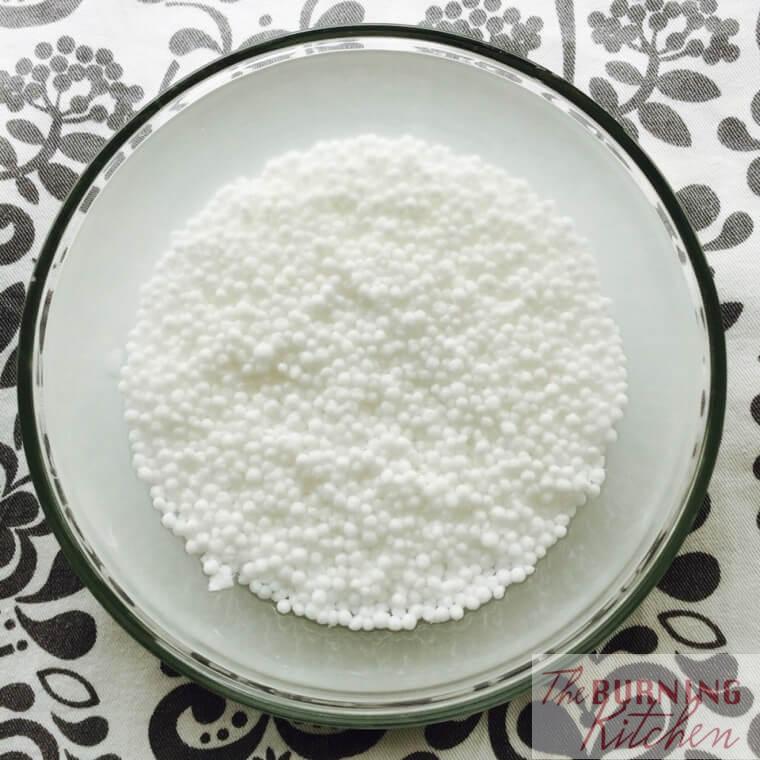
| 1. Measure out the amount of sago you need. | 1. Measure out the amount of sago you need. Wash and drain the sago. MISTAKE 1: WASHING THE SAGO Bee Leng says: “You should never wash sago. Sago is made of starch, so any contact with water prior to cooking will cause the sago (which are really starch powder balls) to dissolve!”
|
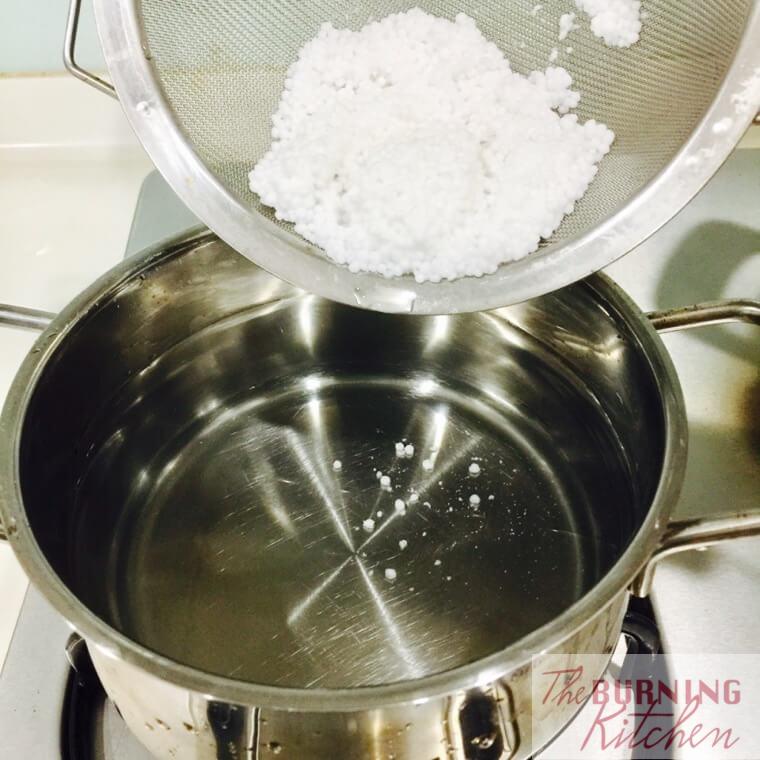
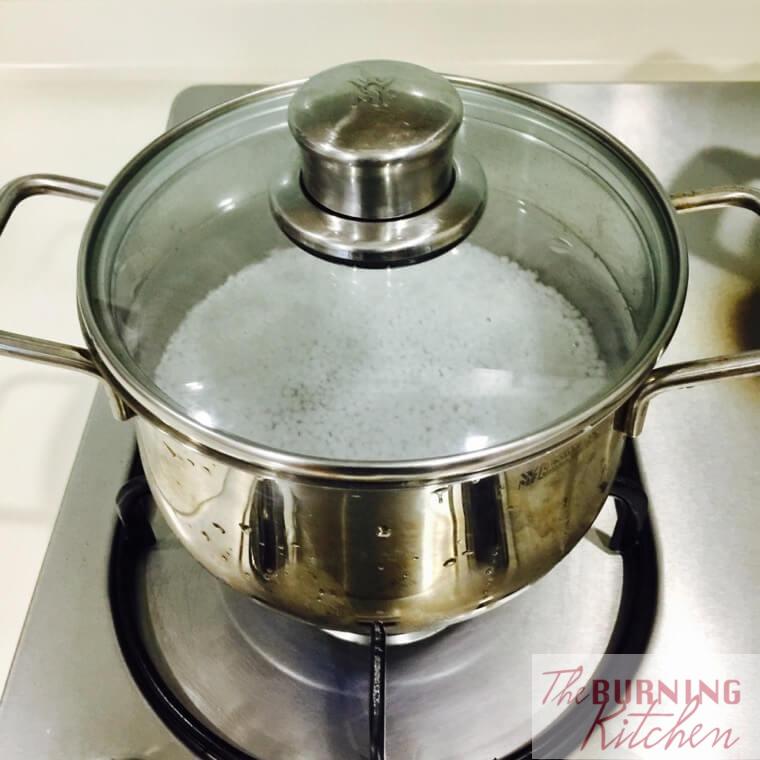
2. Add sago to a pot of boiling water.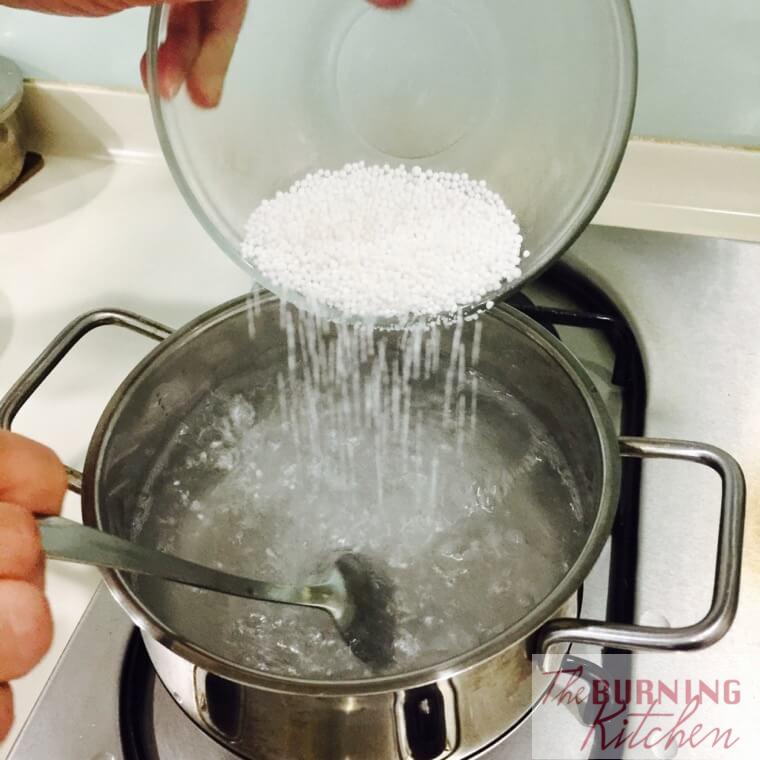
| 2. Add sago to a pot of tap water and bring to a boil. MISTAKE 2: USING TAP WATER Bee Leng says: “Same principle as above. Sago must be added to boiling water. This way, the outermost layer of the sago pearl gets cooked instantaneously, forming a seal around the sago pearl.” |
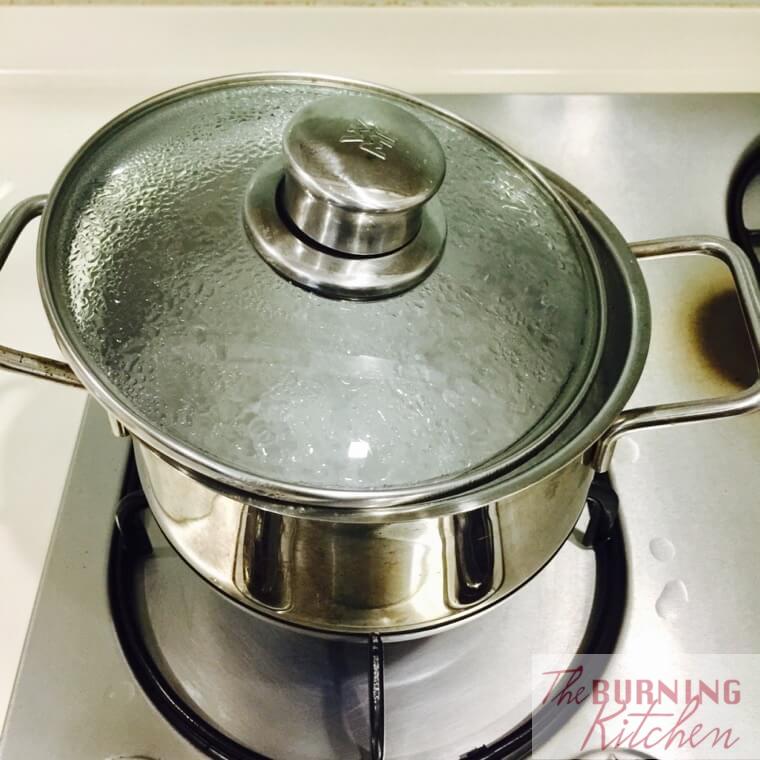
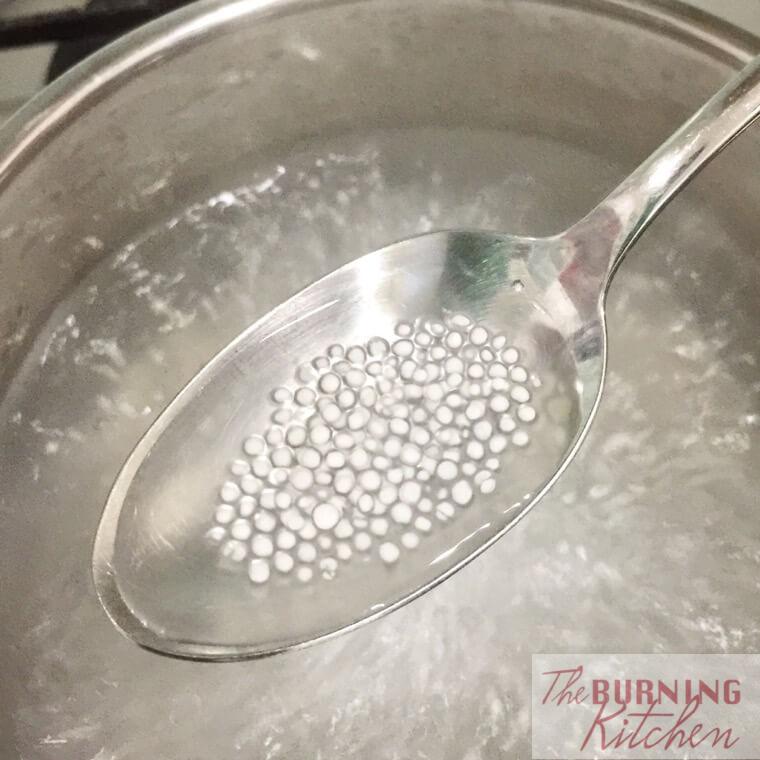
| 3. Boil for around 10-12 minutes over medium heat with the lid slightly ajar. The core of the sago pearls will still look whitish because it is not completely cooked.
| 3. Boil until sago is cooked through. MISTAKE 3: BOILING FOR TOO LONG Bee Leng says: “After boiling for about 10-12 minutes, the outside of the sago is cooked, but the centres are still opaque. You may then think that you should continue boiling the sago. But what happens is that the outer layers which are already cooked will begin to disintegrate into starch if you boil beyond 15 minutes.”
|
4. Turn off the flame and let stand for 30 minutes to allow the centre of the sago pearls to cook through. Sieve and rinse the cooked sago pearls. The sago should not stick to the pot.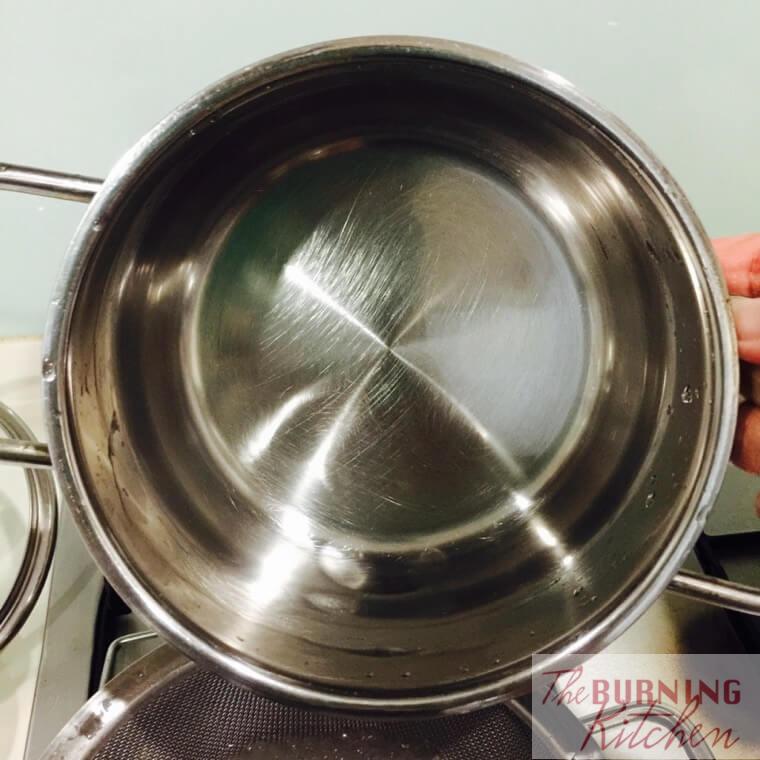 | 4. Sieve and rinse the cooked sago pearls. The sago tends to stick to the pot.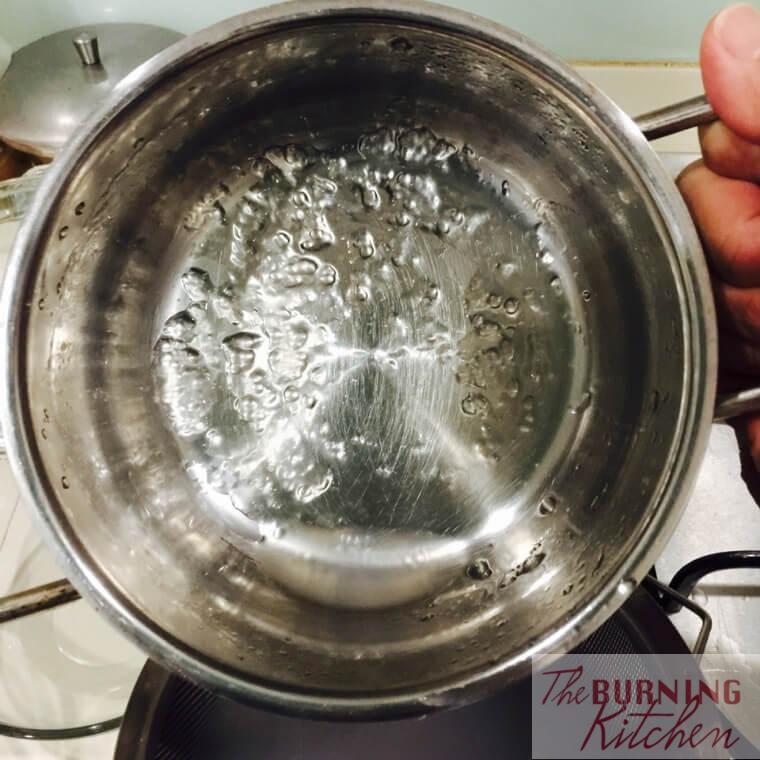
|
5. Chill and serve with Coconut Milk and Gula Melaka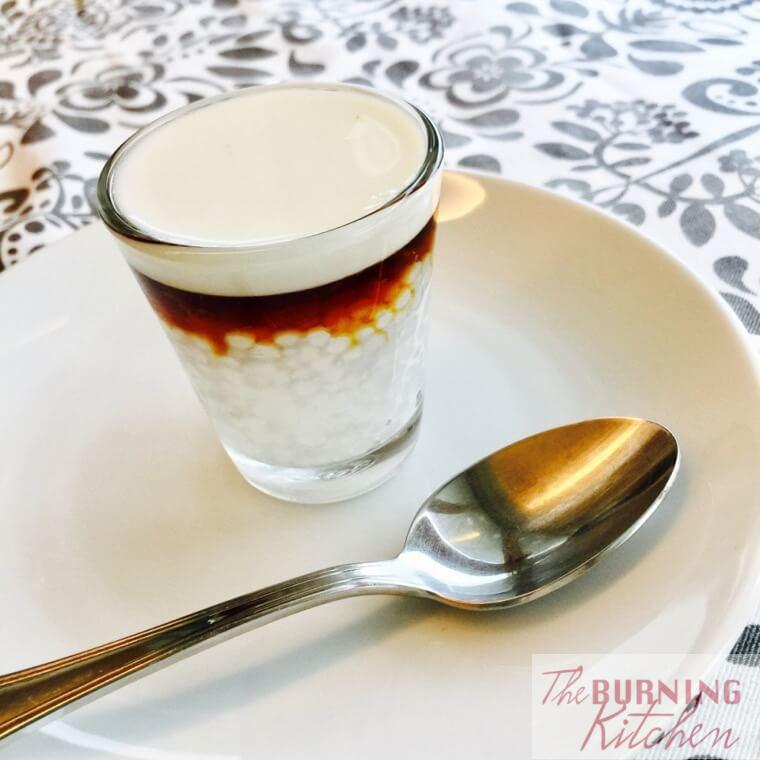 | 5. Straight to the dump 🙁 |
Additional Tips:
- For large sago pearls, the cooking process is exactly the same, except that you have to do its twice otherwise the inner part of the sago pearl will not be cooked. So after the 1st round of cooking of the large sago pears, rinse them with water to remove excess starch. Discard the water in the pot and set a fresh pot of water to boil, then repeat the process from step 2 onwards. At the end of the second round of cooking, the white inner layer would now be be cooked through and turn transparent.
- Always cook the sago separately before combining with any other ingredients e.g. green bean soup or sweet potato soup. If you add the sago directly into the green bean soup, the soup will turn starchy and the sago will disintegrate leaving the centre still white because the heat will not penetrate fast enough to cook the outer layer of the sago pearl to form a seal.
- You need to use sufficient water for boiling, otherwise the water will become too starchy and the heat will not be able to penetrate well through starchy water to completely cook the sago. In my demonstration, I used 1.5 litres water for 40 grams of sago pearls, so thats approximately 1:30 ratio by volume.
- Pour the sago slowly into the boiling water, otherwise the boiling water will suddenly bubble up and overflow the pot.
- Rinsing the cooked sago pearls several times over running tap helps to remove excess starch.
- If you have excess sago pearls, you can store them in the fridge in a Tupperware. After refrigeration, they will usually turn whitish / opaque, but don’t worry, its not time to dump it yet! Just use this simply 5-minute method to revive your sago again! (Hint: Don’t just reboil it as the sago will disintegrate!)
Special Diets:
- Baby/Toddler-Friendly: For toddlers (12 months and up); no modifications needed.
- Child-Friendly: No modifications needed.
- Egg-Free: No modifications needed.
- Fish-Free: No modifications needed.
- Gluten-Free: No modifications needed.
- Nut-Free: No modifications needed.
- Shellfish-Free: No modifications needed.
- Vegan: No modifications needed.
- Vegetarian: No modifications needed
Loved this!
Thank you for the support Lance! Hope you will try out more of our recipes on our blog as well 🙂
This is a great tip for preparing the sago. Managed to get the sago right for the first time. Appreciate it!
Thank you so much Jazz for your warm support! Really happy to hear that your first-time sago was a success! Hope you will come back to try out more recipes next time!
Do I leave the lid on the pot while the tapioca sits for 30 minutes off the heat?
Hi Diane, after you have turned off the heat, cover the pot with the lid and leave it for half an hour before running over the tap. If the quantity of sago is less than stated, you can shorten the time otherwise it will turn gluey. Hope that helps. Pl post a picture on our FB page of your final product. Thank you for liking theburningkitchen. Happy cooking 🍳
hi, can i ask, i’ve seen quite few other recipes elsewhere for sago kueh, most of them say wash > soak 30mins > boil/steam sago. is it because in thise case making sago kueh requires different treatment of the sago to become a kueh, unlike sago in tong shui?
Wow! Just about gave up on trying to cook sago! Thanks for the secret method!
This is great, thank you. I tried a few people’s suggestions and it just came out as a squishy mess. I tried this and it came out great.
We in india always wash and soak sago for any preparation, may it be a porridge like consistency, ‘ kheer’ or a soft solid one sago ‘khichadi’.
Washing doesn’t harm the pearls and soaking certainly helps in thorough cooking.
Thanks for sharing the tips . It was a great success , followed exactly all the steps , as the sago I used were slightly big so had to do the 2process 2 twice .Thanks alot had been trying for many years now but was failing .Thanks again.
I purchased Indian (Uruthira Brand) Sago and it really smelled very chemical…and it tasted chemical also. Is this normal?