Steam-Grilled Stuffed Squid: The steam-grill method gives you the best of both worlds – the tenderness and flavour infusion from steaming, and the smoky bbq flavours from grilling! This delicious squid dish is literally packed with surprises inside out!

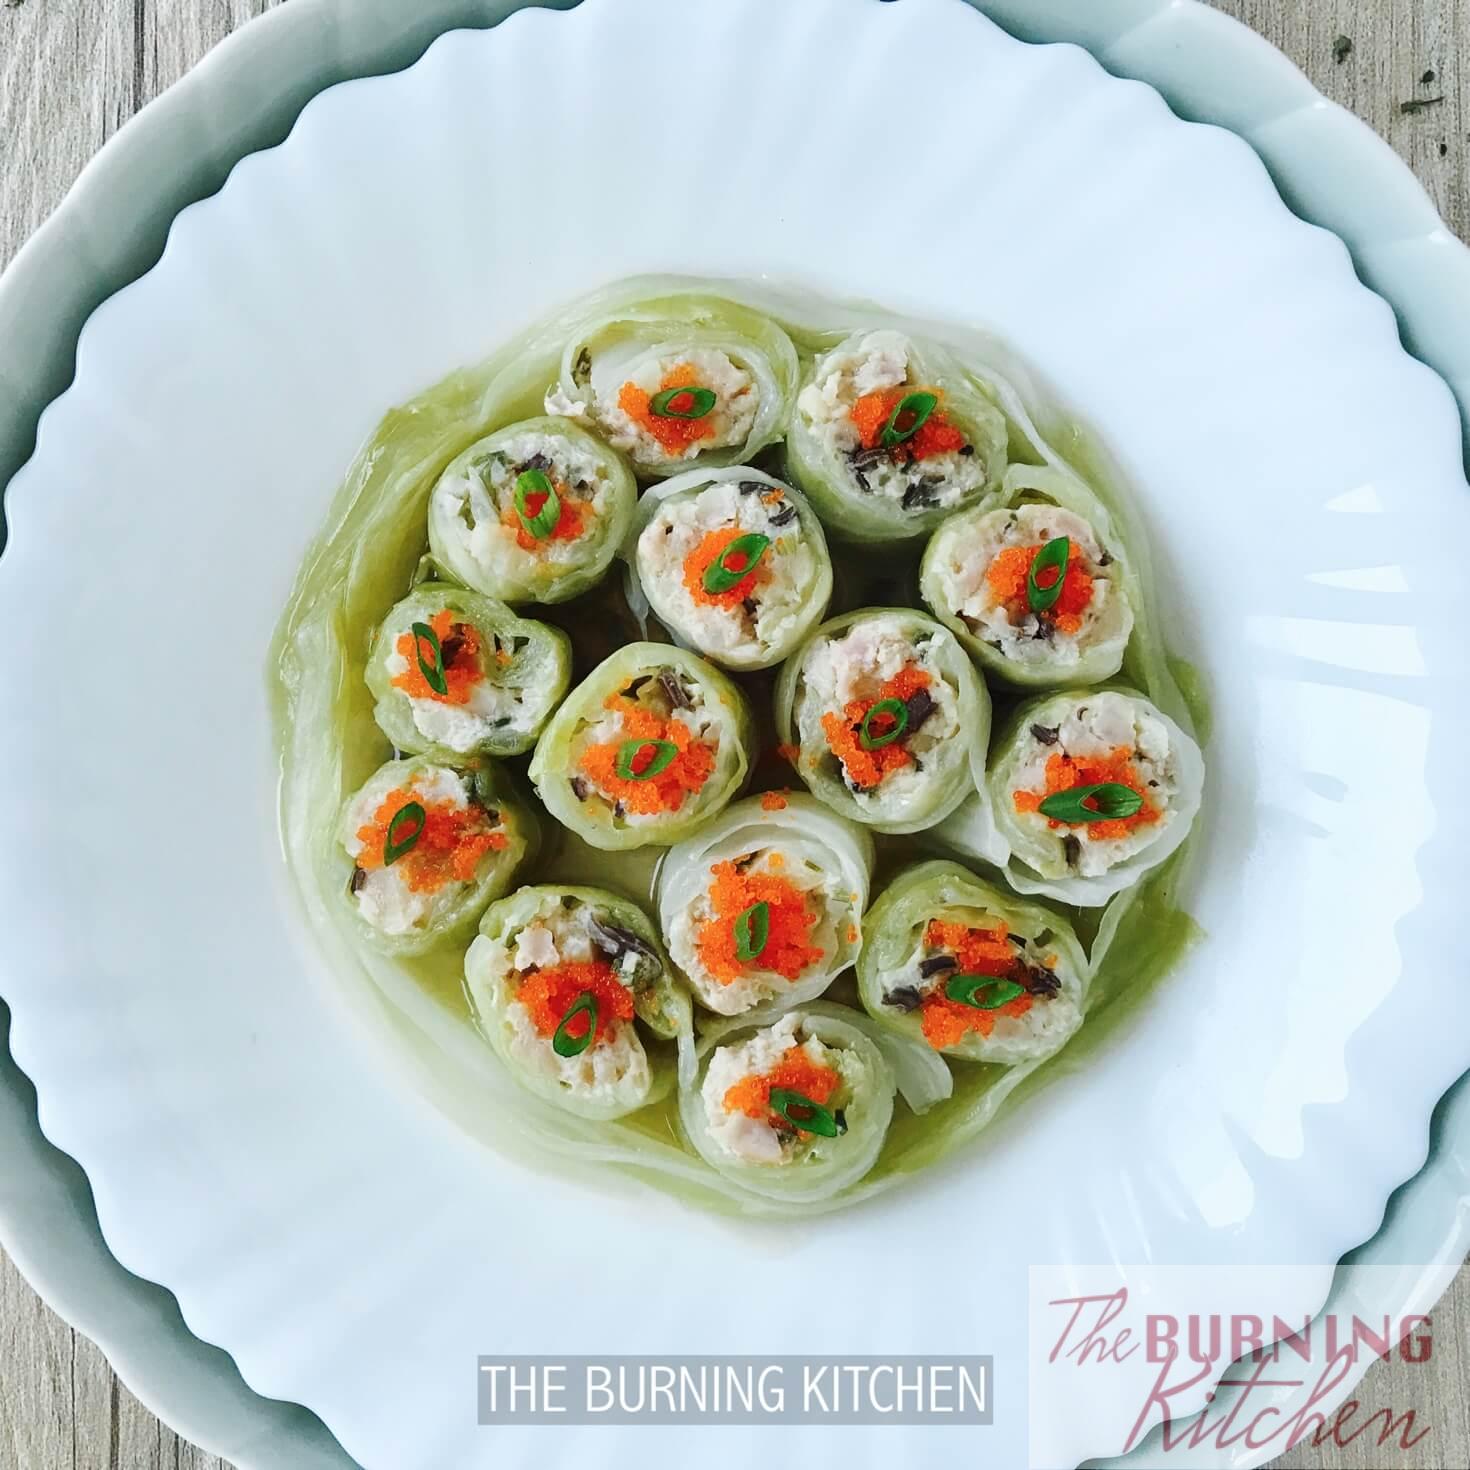
Does anyone still remember our popular Dim Sum Cabbage Roll recipe post last month (photo below)? Well, today my Mum Bee Leng aka The Burning Chef will present to you a very interesting, also low-carb variation from that recipe – Steam-Grilled Stuffed Squid! This time instead of wrapping the meat stuffing with cabbage leaves, we only need to stuff the meat mixture into the cavity of the squid bodies, seal with a toothpick and set it to steam – it is super easy!
GRAB OUR HERITAGE HAWKER DELIGHTS COOKBOOK + EBOOK BUNDLED DEAL FOR JUST $44.85 (U.P. $54.80)
To Steam or to Grill? Actually, Both!
If you look at the photo below, can you see the golden-brownish charred bits on the skin of the squid? Well that’s because we are using the steam-grill method for this stuffed squid dish, meaning that you steam the dish first until partially cooked, and then grill it towards the end to get that smokey aromatic bbq flavours. Steam-grilling ensures that the grilled squid remains juicy and tender while the interior meat stuffing is just cooked through. In fact, the secret to have tender grilled stuff squid is actually in the steaming, which I will explain below.
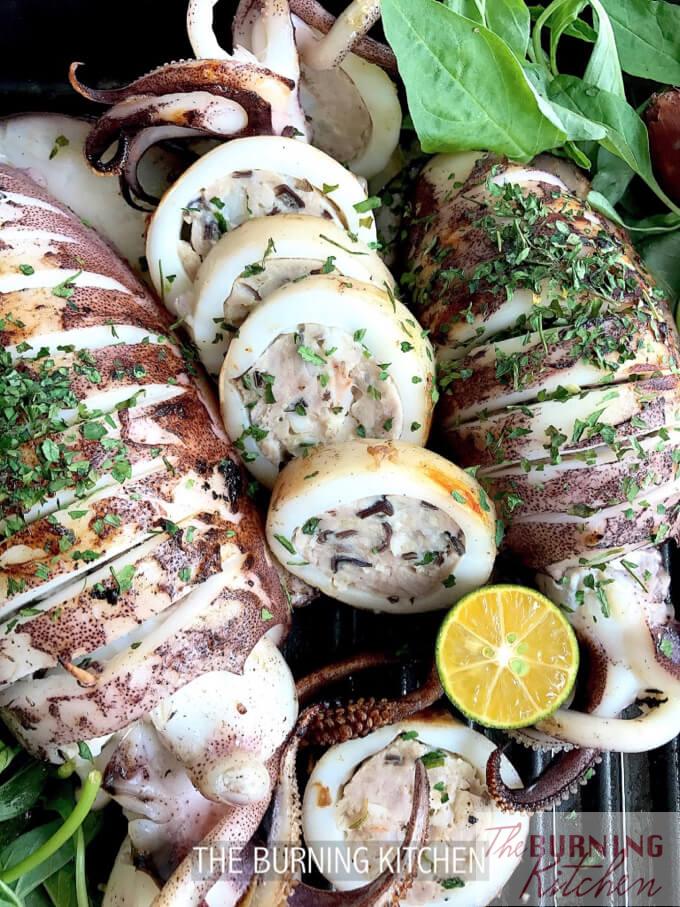
Steaming the squid before grilling allows the moist heat to penetrate the stuffing and cook it through while retaining moisture. If you skip the steaming step, the squid will most likely turn out dry and rubbery, because it takes a long time for the heat from the grill to penetrate and cook the meat stuffing through, by which time the squid would end up overcooked.
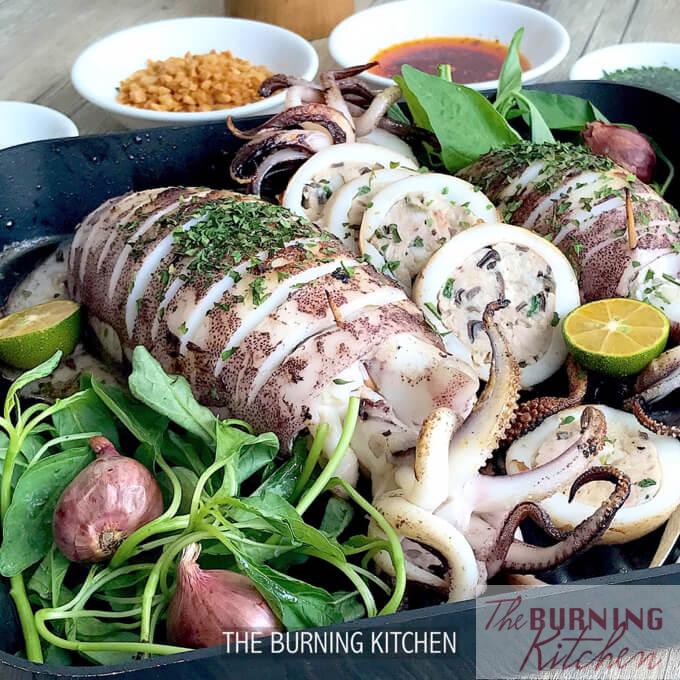
After steaming, you can sear the steamed squid in a well heated grill pan (the kind that fits over a stove) with bubbling butter for that smoky buttery aroma and flavour that add more depth to the dish!
Suggested Modifications for Special Diets
- Child-Friendly: No modifications needed.
- Egg-Free: Skip the egg in the stuffing.
- Fish-Free: No modifications needed.
- Gluten-Free: Use gluten-free soy sauce.
- Nut-Free: No modifications needed.
Tender Steam-Grilled Stuffed Squid
Ingredients
- 4 Squid Around 200g each
- 2 tbsp Butter
MEAT STUFFING
- 350 grams Lean Pork
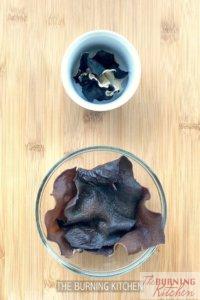
- 2-3 pieces Black Wooden Ear Fungus
- 15 Prawns Medium-Size
- 6-7 Water Chestnuts
- 1 Egg
- 2 Sprigs Spring Onions
MARINADE
- 1 tsp Salt
- 2-3 tsp Oil
- 2 tsp Corn Flour
- 2 1/2 tsp Light Soy Sauce
- 1 Dash White Pepper
GARNISHING - OPTIONAL
- 1 sprig Parsley Chopped
- 1 Lime
Instructions
PREPARATION FOR MEAT STUFFING (Active Time: 20 min, Total Time: 50 min)
- Soak the wooden fungus for about 20 minutes until it expands and becomes soft.

- Mince the pork coarsely.
- Marinate the pork with the marinade ingredients for about 15 minutes.
- Wash the water chestnut, using a brush to remove the mud. Remove the skin with a peeler. Then cut the water chestnut into small cubes.
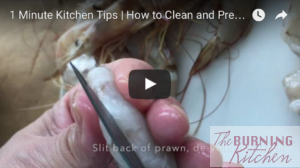
- Wash, shell and devein the prawns. Then cut into 3-4 pieces each. See my video on how to devein prawns here.
- Wash and cut the spring onion into small pieces.
- Remove the skin from the ginger and slice it thinly
- Wash the wooden fungus thoroughly to remove the sand in between the grooves and cut into small squares.
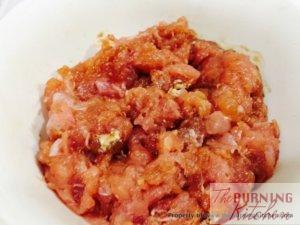
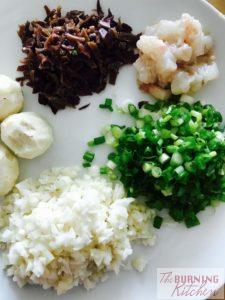
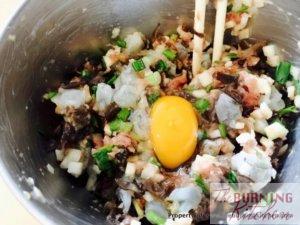
- In a big bowl add in the pork, wooden fungus, water chestnut, prawns and spring onion and mix well.
- Crack an egg into the mixture, then mix well until incorporated.
- Leave the meat mixture in the fridge for 1/2 hour.
PREPARATION METHOD FOR STEAM-GRILLED STUFFED SQUID (10 min)
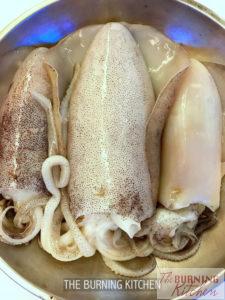
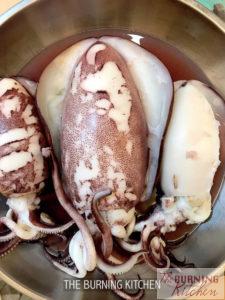
- Remove the head and ink sac from the squid, then clean the squid body thoroughly. Remove the eyes and the mouth of the squid. For details instructions, watch my video tutorial on How to Clean Squid.
- Use a chopstick to stuff the meat mixture into the squid body until it is three-quarters filled, being sure not to over-compress the meat.
- Stuff the head of the squid into the squid body.
- Then use a toothpick to seal the top of the squid.

COOKING METHOD FOR STEAM-GRILLED STUFFED SQUID (35 min)
- Steam the squid over high fire for 20 minutes, ensuring there is sufficient water (tip: the water level should be at the same height as the top of the steaming rack)
- Drain off the water from the steamed squid into a separate bowl and set aside.
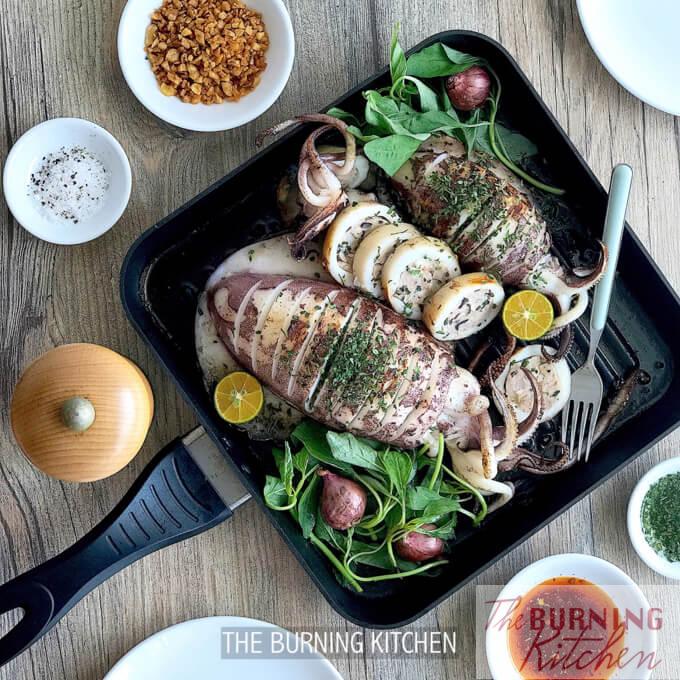
- In a well heated grilling pan, add in 1 tbsp butter into the pan at medium heat. It should start to sizzle. Immediately add in 2 stuffed squids and fry for about 3-4 minutes on each side. The squid should be nicely seared on both sides.
- Add another tbsp of butter, and repeat with the remaining 2 squid bodies
- Remove from heat. Remove the toothpicks and slice up the seared squid. Arrange the squid on the same grilling pan and garnish with chopped parsley and lime. Best served hot.

Notes
- Be sure to stuff the squid only until it is three-quarters filled, to allow room for the meat to expand during cooking.
- When stuffing the squid, it is best to use a chopstick to push the meat in, so the meat won't be over-compressed, resulting in the meat being undercooked.
- When cleaning the squid be careful when handling the ink sac and removing the eyes of the squid. Do NOT squeeze the eyes of the squid otherwise it will shoot out and create a big mess. Watch my video tutorial for detailed instructions on How to Clean Squid.
- Steaming the squid before grilling allows the moist heat to penetrate the stuffing and cook it through while retaining moistness. If you skip the steaming step, the squid will usually turn out dry and rubbery, because it takes a long time for the heat from the grill to penetrate and cook the meat stuffing through, by which time the squid would end up overcooked.
- Grilling the squid at the end is optional, if you like the stuffed squid to have a smoky grilled taste. If you do not want to grill the squid, you should add on 5 minutes to the steaming time.
- When grilling the squid, don't over fill the grill pan as you will end up steaming the squid rather than grilling / searing it.
- To get browned squid without overcooking, use a heavy pan that’s well heated through.
- It is very important to add in the squid IMMEDIATELY into the sizzling butter, otherwise the butter will get burnt.
Ready to Get Cracking?

So I’m sure that by now you are all super inspired to try out this recipe! But wait…… what if you have never bought, not to mention, handled a fresh squid before in your life? Don’t fret, we’ve got you covered. We made you a video tutorial (below) with the Dos and Do Nots when handling squid. It’s a short 2.5 min video (don’t worry, you won’t have to sit through a long, boring blow-by-blow tutorial). But if you prefer you can also read our step by step guide on How to Clean Squid here.
Whatever you do DO NOT try to squeeze out the eyes of the squid without slitting it open first, otherwise it may shoot straight out onto your ceiling, creating a great big mess and eyesore. Get it? I just laughed out loud writing that! Anyway, congratulations if you stuck with me all the way to here. And please please please leave us a comment below because we would love to hear from you and answer your questions!
If you love our recipes and writing, please follow us on our new Instagram and Pinterest accounts!