Disclosure: This recipe is proudly sponsored by Panasonic Singapore.
STORY BEHIND THE RECIPE
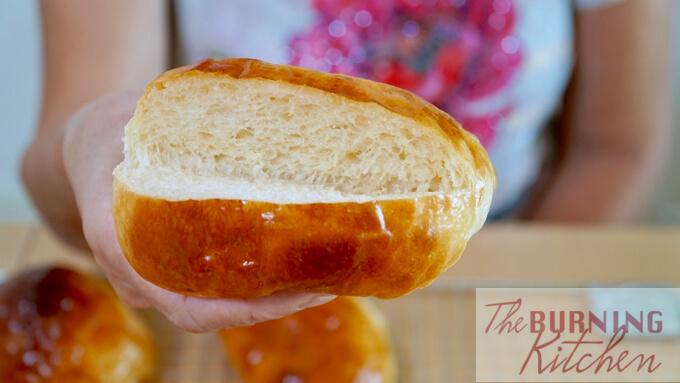
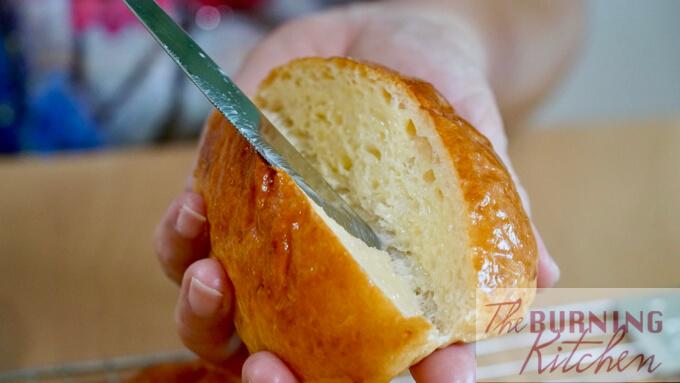
My children love to eat all kinds of Chinese bakery buns, which they look forward to having as a tea-time snack. So my mum and I decided to make some of our own Pork Floss buns with the kids as a family bonding activity! It took around 5-6 attempts before we finally achieved the result we were looking for – cottony soft, light and moist sweet buns!
Many of the recipes online use a hydration level of 60%-65%. When we tried using that ratio, the buns turned out looking quite nice, but my hubby commented that they felt more dense and dry, as compared to the light, fluffy and moist texture of good local bakeries. So after extensive research and experimentation, I came up with 4 secrets to light, cottony soft sweet buns!
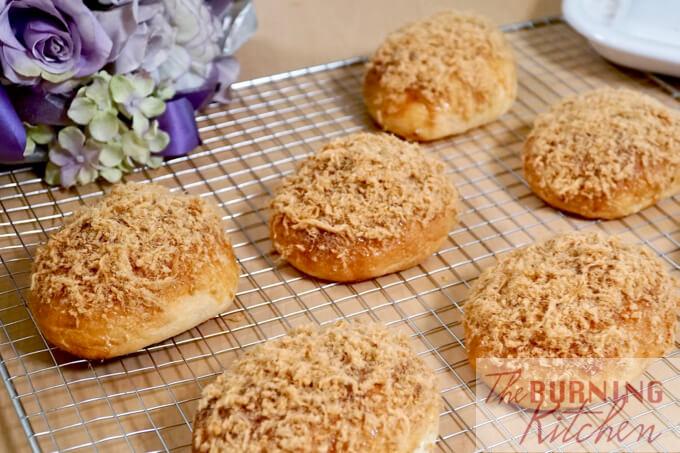
TRICKS OF THE TRADE
- The tangzhong method – an old technique used by Japanese bakers to make their bread super soft and moist. They found that pre-cooking a small proportion of flour with 5 parts of water to form a custard-like roux helps to lock in moisture. When added to the rest of the dough, it allows the dough to withstand higher-than-usual hydration levels without losing strength and collapsing during baking.
- Autolyse (the powerful pause) – a technique discovered by French bakers who found that instead of kneading the dough continuously, a short pause of at least 20 minutes could achieve a similar level of gluten development without over-kneading the dough. Nicknamed ‘the powerful pause’, autolyse kickstarts the gluten formation and allows the flour to be fully hydrated before the fermentation stage. During autolyse, salt, butter and yeast are not added because salt and butter will hinder the formation of gluten strands which give strength to the dough and make it more extensible and stretchy. Yeast is not added as you want the gluten formation to take place before the fermentation stage, which starts when yeast is added.
- Dough Hydration – Dough hydration is calculated using the ratio of liquids to flour. You need to tread a fine balance here. A higher dough hydration leads to a crumb that’s more moist (etc foccacia and ciabatta both use high-hydration dough). Too much hydration and the dough will be very difficult to handle and could lack the strength to rise and bake well without collapsing. We found that a hydration of around 70-75% led to the best results, while keeping the dough manageable!
- Fats and Sugar – Fats and sugar are the reason by Asian breads are softer and more moist than Western loafs.
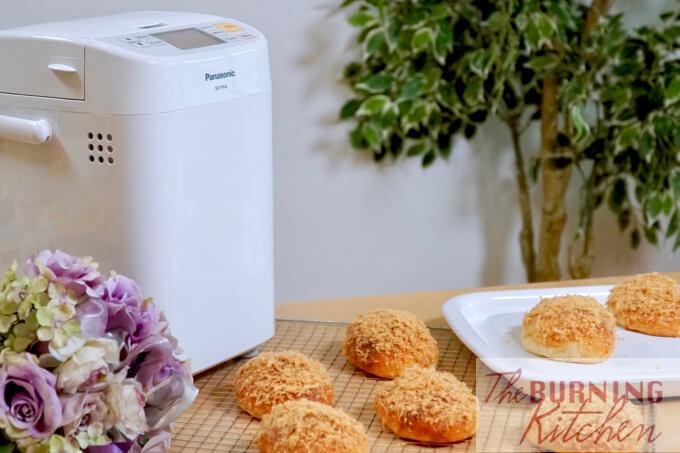
PRODUCT REVIEW: PANASONIC SD-P104 BREADMAKER
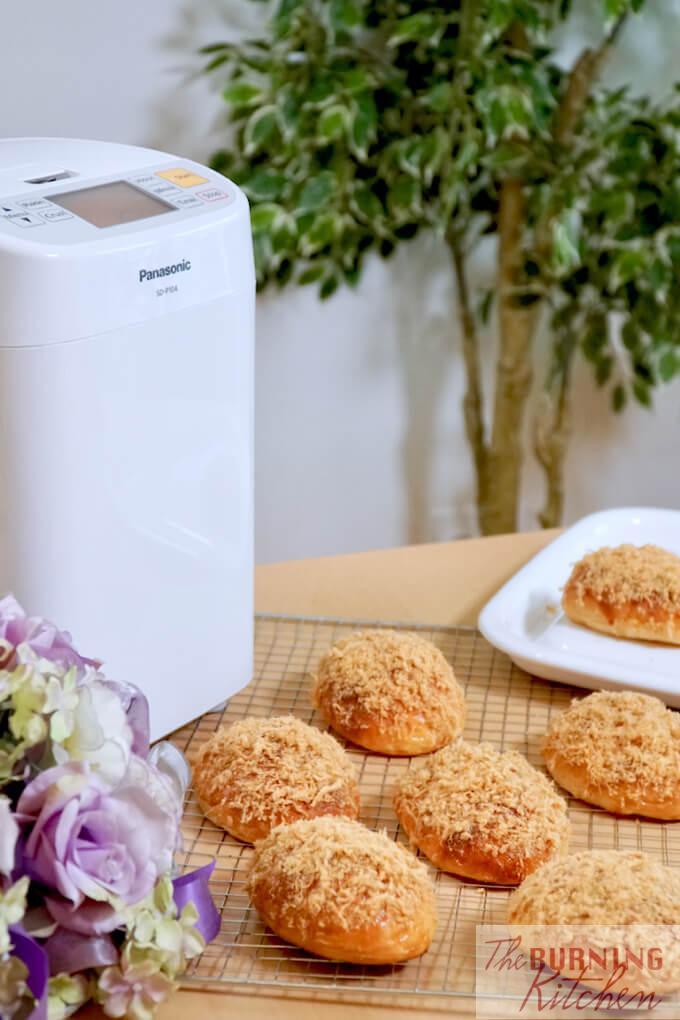
As this is a relatively high hydration dough, it can be quite messy and tedious to knead it by hand. So I entrusted the job to my handy new Panasonic SD-P104 breadmaker. Before this, I was using my old breadmaker but for some reason, my dough never achieved the smooth and stretchy texture that could pass the famous ‘window pane’ test, and the buns ended up too dense after baking. So how did the Panasonic breadmaker perform? Let’s find out!
GRAB OUR HERITAGE HAWKER DELIGHTS COOKBOOK + EBOOK BUNDLED DEAL FOR JUST $44.85 (U.P. $54.80)
THE VERDICT
The PROs
- Digital timer with 13-hour delay – Even for the days when I don’t have the time to make beautiful buns, freshly baked bread in the morning is always very welcome in my family! The digital timer on the breadmaker allows me to make the bread in advance and time it such that it’ll be ready for my family’s breakfast the next day. It has a 13-hour delay, which means that I can choose any time from 5 pm onwards to set the machine to complete baking by 6 am the next morning!
- 13 Menus to choose from – Including rapid bread (done in 2 hours), whole wheat bread, rice bread, pizza dough, dumpling skin dough, cake and chocolate. We used menu 9 for making Bread Dough. The whole program is an hour, including 15 minutes of kneading and a 45 min proofing period. It works pretty well – by the end of the 15 minutes of kneading, the dough was pretty stretchy and elastic (definitely better than my previous breadmaker), and the dough had risen to double the volume by the end of the 45 minutes.
- Automatic Fruit and Nut dispenser – This is SUCH a good feature! It can be quite boring to eat the same bread every day. But with this dispenser, you can load up your favourite dried fruits and nuts like raisins, cranberries, blueberries and walnuts and the machine will automatically dispense it into the dough towards the end of the kneading process, so they don’t get all crushed. And the next morning you will have all sorts of bread to eat. I would have loved to try making cranberry and cheese bread, but sadly, the machine does not allow you to automatically add wet/sticky ingredients like fresh fruit, cheese and chocolate as they will get stuck easily. So this is one limitation to bear in mind.
- Electronic display – I like to keep track of the progress of my bread (unless it is overnight!), so I love the electronic display that shows what stage of the process the machine is at (kneading, rising, resting, baking), and also how many minutes have passed and what time the bread will be ready.
- Portability – I like the fact that the breadmaker comes with a handle to make it easy to carry it around. I think it is a nice touch as, like many of you, I seriously lack counter-top space. So I have to shift the breadmaker when not in use to create more space on the counter-top. It’s a small touch, but that makes this breadmaker more enjoyable to use.
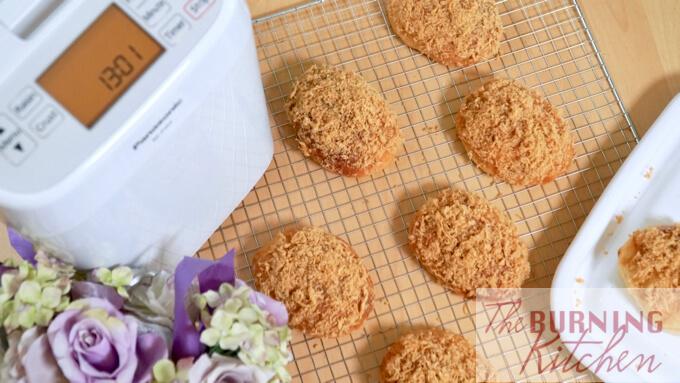
The CONs
- No Bake-Only function – To me, there aren’t many cons for this breadmaker, but this is a major one – there is no Bake-Only function. So if you use the bread dough function to do the first proof, then hand knead and shape the dough to achieve a more even crumb, you cannot then put it back in the bread machine to bake. You will have to use another oven to complete the baking process.
- Rest periods – This is not really a con per se, but more of a suggestion to the manufacturers for improvement. Although Panasonic engineers have gone through the trouble of creating 13 special menus, users could benefit from a better explanation of the different menus. For example, some of the menus have long ‘rest’ periods and sometimes the ingredients are left to rest before any initial mixing. It could be a form of autolysing, but to normal users, it may appear that the machine isn’t doing anything. Moreover, if I have to wait 4 hours for my bread (1-Bread) rather than 2 hours (2-Rapid Bread), I would like to understand what the extra 2 hours are for and how the outcome will differ, short of having to experiment with the menus on my own. So I really hope that the different functions could be explained better in the manual so that users like us can decide which menus to use.
Like reading our reviews? Do also check out our other recipes and review of Panasonic products:
- Steamed Kueh Lapis (Jiu Ceng Gao / 九层糕) and Panasonic Cubie Oven Review
- Singapore Laksa Recipe and Panasonic MX-V310 Blender Review
HOW TO MAKE PORK FLOSS BUNS
See full list of ingredients and quantities in the printable recipe card here.
TANGZHONG ROUX
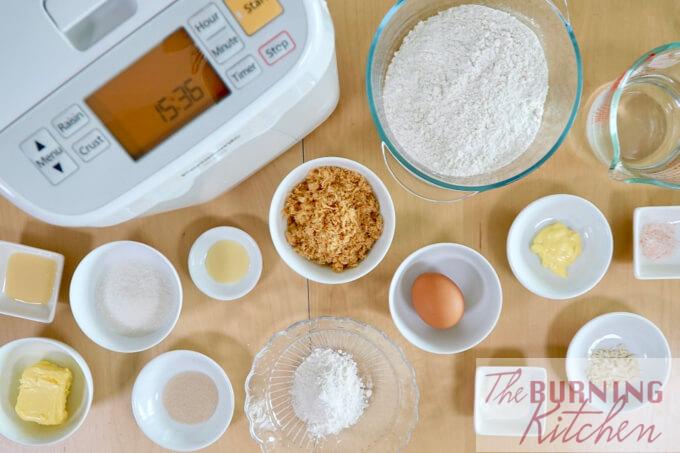
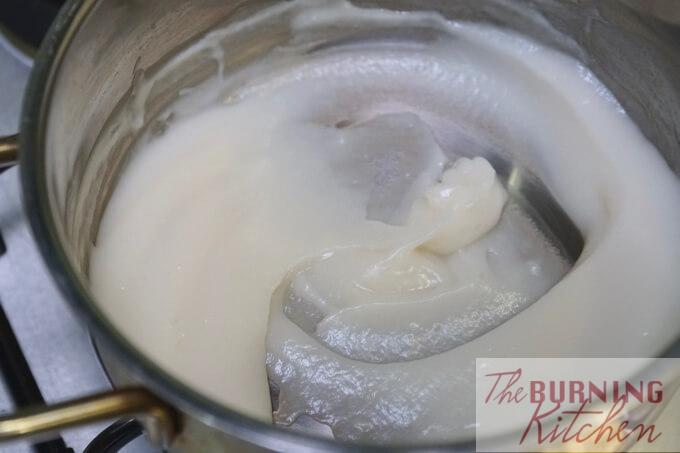
Add 25g of bread flour and 125ml of water in a small pot. Whisk together until it forms a smooth solution (no lumps).
Place the pot over the stove to cook over low heat, stirring constantly. The mixture should start to thicken. The roux is ready when you are able to see the bottom of the pot as you stir the mixture. Transfer the roux to a bowl to cool. Meanwhile, measure out the rest of the ingredients.
AUTOLYSE
In the bread pan, add 250g of bread flour and cooled roux. Then pour the water around the flour like a moat. This allows for better mixing of the ingredients.
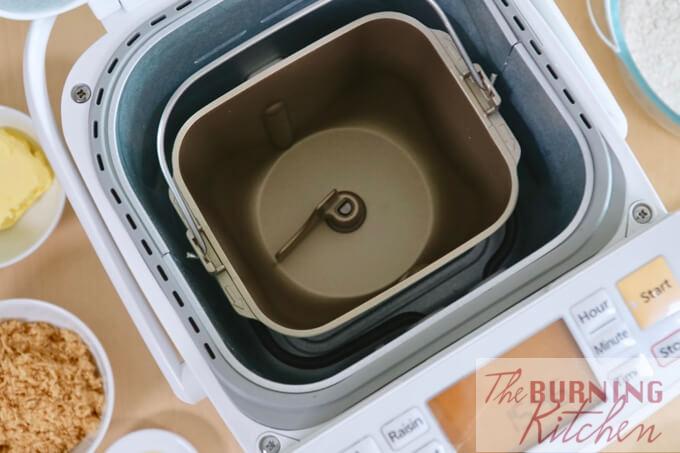
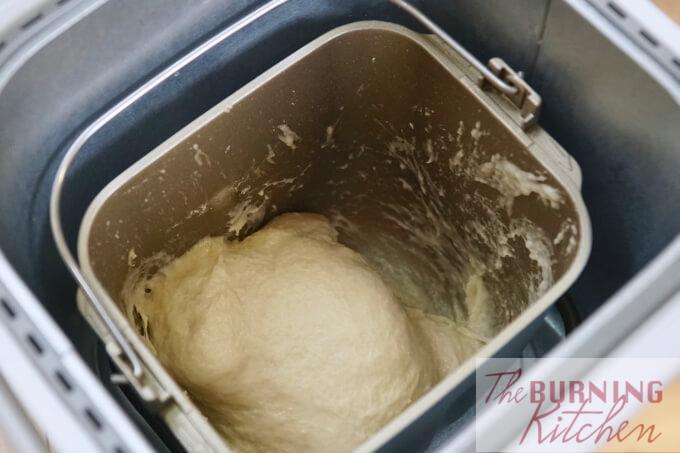
Set the bread machine to Menu 9 (Bread Dough) and press start. The bread machine should commence gentle mixing. After 5-7 minutes, when the ingredients just start to come together, stop the machine and let stand for 20 minutes. This short pause is the autolyse.
KNEADING AND 1ST PROOFING
After 20 minutes, open the lid and add in the salt, sugar, milk powder, egg, condensed milk, butter and bread improver into the bread pan.
Close the lid and add in the yeast into the yeast dispenser. Set the bread machine to Menu 9 again and press start. When the machine makes a clicking sound, the yeast is being dispensed (about 10 minutes into the kneading process).
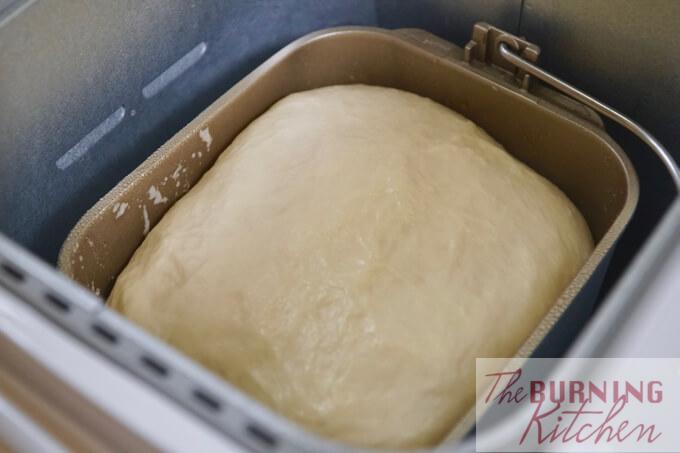
The bread machine should continue to knead the dough for 5 minutes before it moves on to the 45 minutes proofing stage. By the end of the proofing time, the dough should double in size. If the dough is not doubled in size, cover the machine and allow to rise for another 10-15 minutes.
SHAPING AND 2ND PROOFING
Oil your hands lightly, then ‘push down the dough’ by using your fist to press gently but firmly down in the middle of the dough. This helps to release trapped air. Next, place the dough on a lightly oiled surface and knead a few times. Use a dough cutter to cut the dough into 8 equal pieces (72-74g each) using a weighing scale.
Before shaping, it is good to let the dough rest for 10 minutes (optional). The rest period relaxes the gluten and makes the buns easier to shape. If not, they may spring back when you are trying to roll them out. While resting, cover the dough with a damp towel to prevent a crust from forming on the surface.
For a more uniform layered crumb, follow this shaping technique. Use a lightly oiled rolling pin to flatten the dough to get rid of large bubbles, then roll it up. Repeat this step, then shape it into a ball. To get a smooth surface, you can either 1) stretch the skin of the bun and fold them together under the bun or 2) drag them along the surface with your hand to tighten the skin and tuck in any ‘wrinkles.
Place the buns on a tray lined with baking paper about 2.5-3 inches apart. You may need to do 2 trays like what we did.
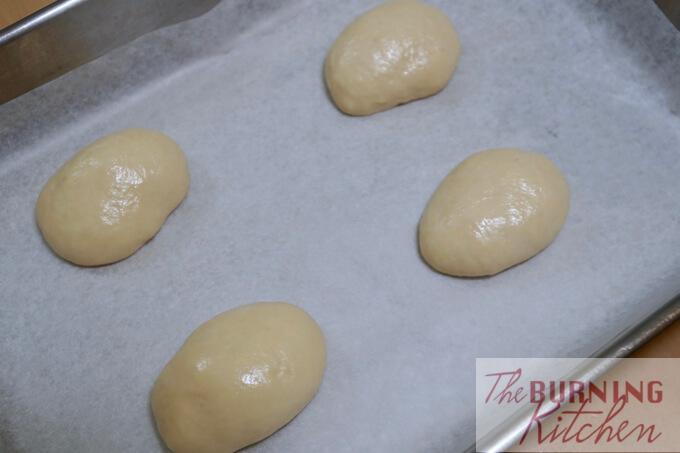
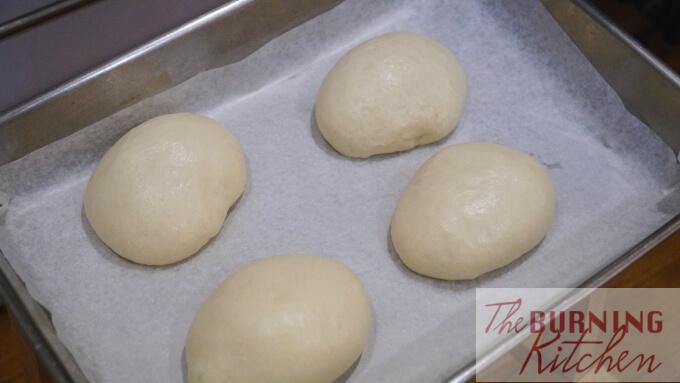
Place the tray(s) in a small enclosed area for the second proofing. To hasten the process, you can place 2 large bowls of hot water below the trays. The second proofing should take about 45 minutes to 1 hour or until the buns double in size. Meanwhile, preheat the oven at 180 degrees celsius.
BAKING
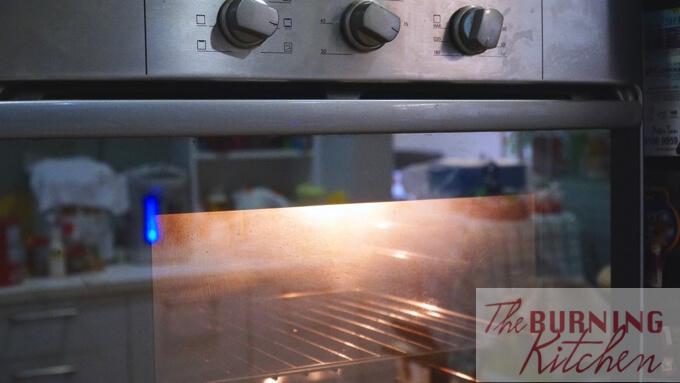
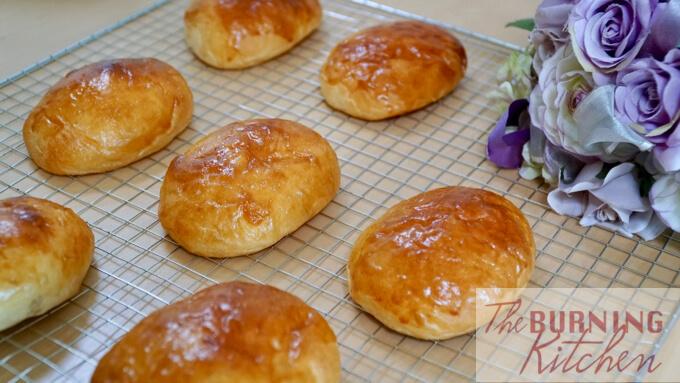
Once the dough has doubled in size, brush the buns gently with egg wash if you want a shiny brown colour (optional). Bake the buns on the lowest rack at 180 degrees for 15-18 minutes. Keep an eye on it. If the buns brown too quickly, cover the browned parts with aluminium foil so they does not turn too brown.
Remove the buns and place on a wire rack to cool.
TOPPINGS
Prepare the egg cream by mixing condensed milk and mayonnaise.
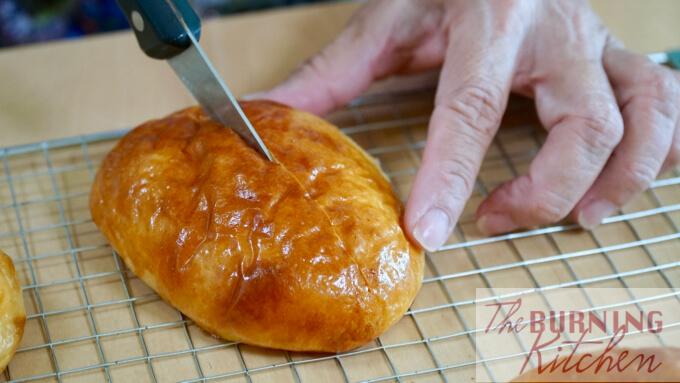
Once the buns are cool, slice them open (but not until the end) and butter them with the egg cream. Then coat the top of the buns with a thick coating of egg cream.
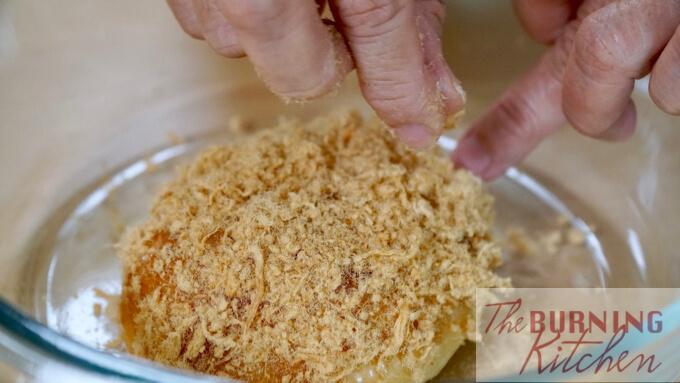
Fluff the pork floss, then coat the buns with the pork floss and serve immediately.
KNEADING TIPS
- Use an electronic weighing scale to measure all the ingredients for accuracy.
- Ensure that the roux is cooled to room temperature before adding it to the rest of the ingredients, otherwise, the heat will affect the chemistry of the dough.
- Make sure that the salt does not come into direct contact with the yeast, otherwise it will kill the yeast. To do this, make sure you add the yeast and bread improver into the dough first, as it is being kneaded by the bread machine. This will give the yeast a ‘protective coating’ before the salt is added.
- Add butter only after the gluten development during the kneading phase. Butter/oil inhibits the formation of gluten strands, so it is best to do so at that time.
- Check the weather/humidity. The dough is sensitive to the weather. On rainy and humid days, the dough may end up too wet by the end of the kneading stage. If so, you can incorporate a little more flour into the dough and knead for another 5 minutes or so to get to a similar texture to what you see in the video.
PROOFING TIPS
- Make sure that the dough rises to double the original volume. It could take 45 minutes to an hour, depending on the weather and room temperature.
- Don’t overproof the dough! If the dough is left for too long, it will continue to rise to more than 2.5 times the original volume, and could even collapse. Once the dough is over-proofed, the bread will not rise as well for the 2nd proof and will be dense and taste very yeasty/fermented.
- Set aside the time to do Breadmaking as it requires a good stretch of time (2.5-3 hours). Once you add the yeast, essentially the clock starts ticking, so make sure you have set aside enough time to complete the whole process.
- Alternatively, allow the dough to rise in the fridge overnight (around 12 hours) as it rises much slower in a chilled environment. Simply cover the dough with cling wrap and place in the fridge. The next morning, bring out the dough and allow to come to room temperature before shaping.
SHAPING TIPS
- During shaping, use a little bit of oil on your hands and the surface to prevent the dough from sticking. You can also use flour but dust lightly as using too much flour will alter the flour to water ratio in the dough.
- Use a pastry cutter to divide the dough into 8 equal parts. Do not tear the dough as it will destroy the gluten strands and weaken the dough.
- For pull apart buns, place the dough about 1 inch apart.
- For standalone buns, place the dough about 2.5-3 inches apart as the dough will double in volume after proofing.
BAKING TIPS
- Apply egg wash to give the buns a glossy surface. You can also use eggwash using only egg-whites (glossy and less brown) and milk (matt and brown). If you prefer to skip this step, it is also fine. The buns will turn out matt and light brown.
- Place the buns on the lower rack and monitor the buns to prevent them from browning too quickly.
- Place a sheet of aluminium foil over the buns if they are browning too quickly and continue to bake. For more even baking, rotate the tray every 5 minutes.
- Once the buns are done, remove them from the oven to cool for a few minutes, then transfer to a wire rack to that bottom of the buns don’t become damp from the condensation.
- Let the buns cool after baking them. Bread is usually damp inside when it just comes over the oven, so allow to cool for a few hours to allow the inside of the buns to dry up naturally. Unless of course you prefer freshly baked, albeit slightly damp, buns! Then, by all means, help yourself!
WATCH OUR VIDEO for how to make this recipe!
Tried this recipe? Please rate our recipe or leave us a comment! You can even upload a snap of your creation!
Don’t forget to subscribe to our Youtube channel for more yummy videos! Do also join us at TBK Home Cooks Facebook Group where you can post photos of your food, ask questions, share recipes and clean cooking tips from others in the group!
Tangzhong Pork Floss Bun
Ingredients
Tangzhong Dough
- 25 g Strong Bread Flour 12.5 per cent protein
- 125 ml Water
Sweet Bun Dough - Autolyse
- 250 g Strong Bread Flour 12.5 per cent protein
- 50-75 ml Water Adjust the water according to the humidity level that day (use less water if it is a rainy day)
Ingredients to be Added Later
- 8 g Milk Powder
- 1/2 Egg 25g
- 8 g Condensed Milk
- 4.5 g Instant Yeast
- 4.5 g Bread Improver
- 3.5 g Salt
- 50 g Sugar
- 45 g Unsalted Butter
Instructions
A. Tangzhong Roux
- Add 25g of bread flour and 125ml in a small pot. Whisk together until it forms a smooth solution (no lumps).
- Place the pot over the stove to cook over low heat, stirring constantly. The mixture should start to thicken. The roux is ready when you are able to see the bottom of the pot as you stir the mixture. Transfer the roux to a bowl to cool. Meanwhile, measure out the rest of the ingredients.
B. Autolyse
- In the bread pan, add 250g of bread flour and cooled roux. Then pour the water around the flour like a moat. This allows for better mixing of the ingredients.
- Set the bread machine to Menu 9 (Bread Dough) and press start. The bread machine should commence gentle mixing. After 5-7 minutes when the ingredients just start to come together, stop the machine and let stand for 20 minutes.
Kneading and 1st Proofing
- After 20 minutes, open the lid and add in the salt, sugar, milk powder, egg, condensed milk, butter and bread improver into the bread pan.
- Close the lid and add in the yeast into the yeast dispenser. Set the bread machine to Menu 9 again and press start. When the machine makes a clicking sound, the yeast is being dispensed (about 10 minutes into the kneading process).
- The bread machine should continue to knead the dough for another 5 minutes, before it moves on to the 45 minutes proofing stage. By the end of the proofing time, the dough should be double the size. If the dough is not doubled in size, cover the machine and allow to rise for another 10-15 minutes.
Shaping and 2nd Proofing
- Oil your hands lightly, then push down the dough by using your fist to press gently but firmly down in the middle of the dough. This helps to release trapped air. Next, place the dough on a lightly oiled surface. Use a dough cutter to cut the dough into 8 equal pieces (68-74g each) using a weighing scale.
- Before shaping, it is good to let the dough rest for 10 minute (optional). The rest period relaxes the gluten and makes the buns easier to shape. Otherwise they may spring back when you are trying to roll them out. While resting, cover the dough with a damp towel to prevent a crust from forming on the surface.
- For a more uniform layered crumb, follow this shaping technique. Use a rolling pin to lightly flatten the dough to get rid of large bubbles, then roll it up. Repeat this step, then shape it into a ball. To get a smooth surface, you can either 1) stretch the skin of the bun and fold them together under the bun or 2) drag them along the surface with your hand to tighten the skin and tuck in any 'wrinkles.
- Place the buns on a tray lined with baking paper about 2.5-3 inches apart. You may need to do 2 trays like what we did.
- Place the tray(s) in a small enclosed area with 2 large bowls of hot water for the 2nd proof. This should take about 45 minutes to 1 hour or until the buns double in size. Meanwhile preheat the oven at 180 degrees celsius.
- Once the dough has doubled in size, brush the buns gently with egg wash if you want a shiny brown colour (optional). Bake the buns on the lowest rack at 180 degrees for 15-18 minutes. Keep an eye on it. If the bun browns too quickly, cover the browned parts with aluminium foil so it does not turn too brown.
- Remove the buns and place on a wire rack to cool.
Toppings
- Prepare the egg cream by mixing condensed milk and mayonnaise.
- Once the buns are cool, slice them open (but not until the end) and butter them with the egg cream. Then coat the top of the buns with a thick coating of egg cream.
- Fluff the pork floss, then coat the buns with the pork floss and serve immediately.
Notes
- Make sure you use a electronic weighing scale to measure all the ingredients for accuracy.
- Ensure that the roux is cooled to room temperature before adding it to the rest of the ingredients, otherwise the heat will affect the chemistry of the dough.
- Make sure that the salt does not come into direct contact with the yeast, otherwise it will kill the yeast. To do this, make sure you add the yeast and bread improver into the dough first, as it is being kneaded by the bread machine. This will give the yeast a 'protective coating' before the salt is added.
- Butter / oil inhibits the formation of gluten strands, so it is best to add butter only after the gluten development during the kneading phase.
- The dough is sensitive to the weather. On rainy and humid days, the dough may end up too wet by the end of the kneading stage. If so, you can incorporate a little more flour into the dough and knead for another 5 minutes or so to get to a similar texture to what you see in the video.
- Make sure that the dough rises to double the original volume. It could take 45 minutes to an hour, depending on the weather and room temperature.
- Don't overproof the dough! If the dough is left for too long, it will continue to rise to more than 2.5 times the original volume, and could even collapse. Once the dough is overproofed, the bread will not rise as well for the 2nd proof, and will be dense and taste very yeasty / fermented.
- Breadmaking requires a good stretch of time (2.5-3 hours) to do, so do set aside the time to do it. Once you add the yeast, essentially the clock starts ticking, so make sure you have set aside enough time to complete the whole process. The alternative is to allow the dough to rise in the fridge overnight (around 12 hours) as it rises much slower in a chilled environment. Simply cover the dough with clingwrap and place in the fridge. The next morning, bring out the dough and allow to come to room temperature before shaping.
- During shaping, use a little bit of oil on your hands and the surface to prevent the dough from sticking. You can also use flour but dust lightly as using too much flour will alter the flour to water ratio in the dough.
- To divide the dough into 8 equal parts, use a pastry cutter. Do not tear the dough as it will destroy the gluten strands and weaken the dough.
- For pull apart buns, you can place the dough about 1 inch apart. But for standalone buns, you need to place the dough about 2.5-3 inches apart as the dough will double in volume after proofing.
- The eggwash will give the buns a glossy surface. You can also use eggwash using only egg-whites (glossy and less brown) and milk (matt and brown). If you prefer to skip this step, it is also fine. The buns will turn out matt and light brown.
- To prevent the buns from browning too quickly, place on the lower rack monitor the buns. If the buns are browning too quickly, place a sheet of aluminium foil over the buns and continue to bake. For more even baking, rotate the tray every 5 minutes.
- One the buns are done, remove them from the oven to cool for a few minutes, then transfer to a wire rack to that bottom of the buns don't become damp from the condensation.
- Bread is usually damp inside when it just comes over the oven, so allow to cool for a few hours to allow the inside of the buns to dry up naturally. Unless of course you prefer freshly baked, albeit slightly damp, buns! Then by all means, help yourself!
😃
Is it possible to make this dough by hand? I really want to make this, but I don’t have a stand mixer nor a bread maker. 🙁
Hi Sher, of course you can! Happy cooking 🙂 Remember to try it out and share the final outcome to our Facebook page.
can I substitute bread flour to self- rising flour or any other flour??
Hi CHIN, thank you for the question. Unfortunately, you cannot do that for this recipe in order to obtain the soft and chewy texture. Hope you manage to get your hands on some bread flour! Happy cooking, and remember to post the outcome to our Facebook page 🙂
What if I don’t have milk powder. Only fresh milk. How do i measure?
Hi Katherine, thank you for the question. You can just omit the milk powder from the recipe! Happy cooking, and remember to post the outcome to our Facebook page 😀
This recipe did not work for me without a breadmaker. I followed the recipe exactly but have no breadmaker so i used a stand mixer for the 2nd part (after tangzhong) and still did the autolyze, but dough turned out so lumpy and wet after adding all the other ingredients. I had to add about 1.5cups more flour to make the dough come together which resulted in a tough bread.
Hi, thank you for the detailed instructions. However, I just did this recipe yesterday manually (no mixer, no breadmaker). It was fine until the point wherein I added the rest of the ingredients (milk powder, yeast, sugar, egg, etc.) or after the Autolyse step. The dough started breaking into pieces and would not absorb the wet ingredients ☹️ I added flour too just for it to become cohesive, around 1 cup or more. The bread came out heavy and dense 😟
Love your videos cos you explain everything so well. Could you please make a video of how to make a soft and fluffy white bread just by using the bread machine (i.e. without having to take the dough out to shape whatsoever)? I have the same bread machine as you but i find that the bread it makes always comes out very dense and not soft enough even when i use the soft bread setting. Thanks a lot!
I will try and will alert you when I do, ok? Thanks for liking our videos. Meanwhile you can watch our other videos too
Hi Lynn, by the way, are you referring to normal loaf or the meat floss bun?
Normal loaf , thanks !
Lynn,
Ok, will let you know when I do.